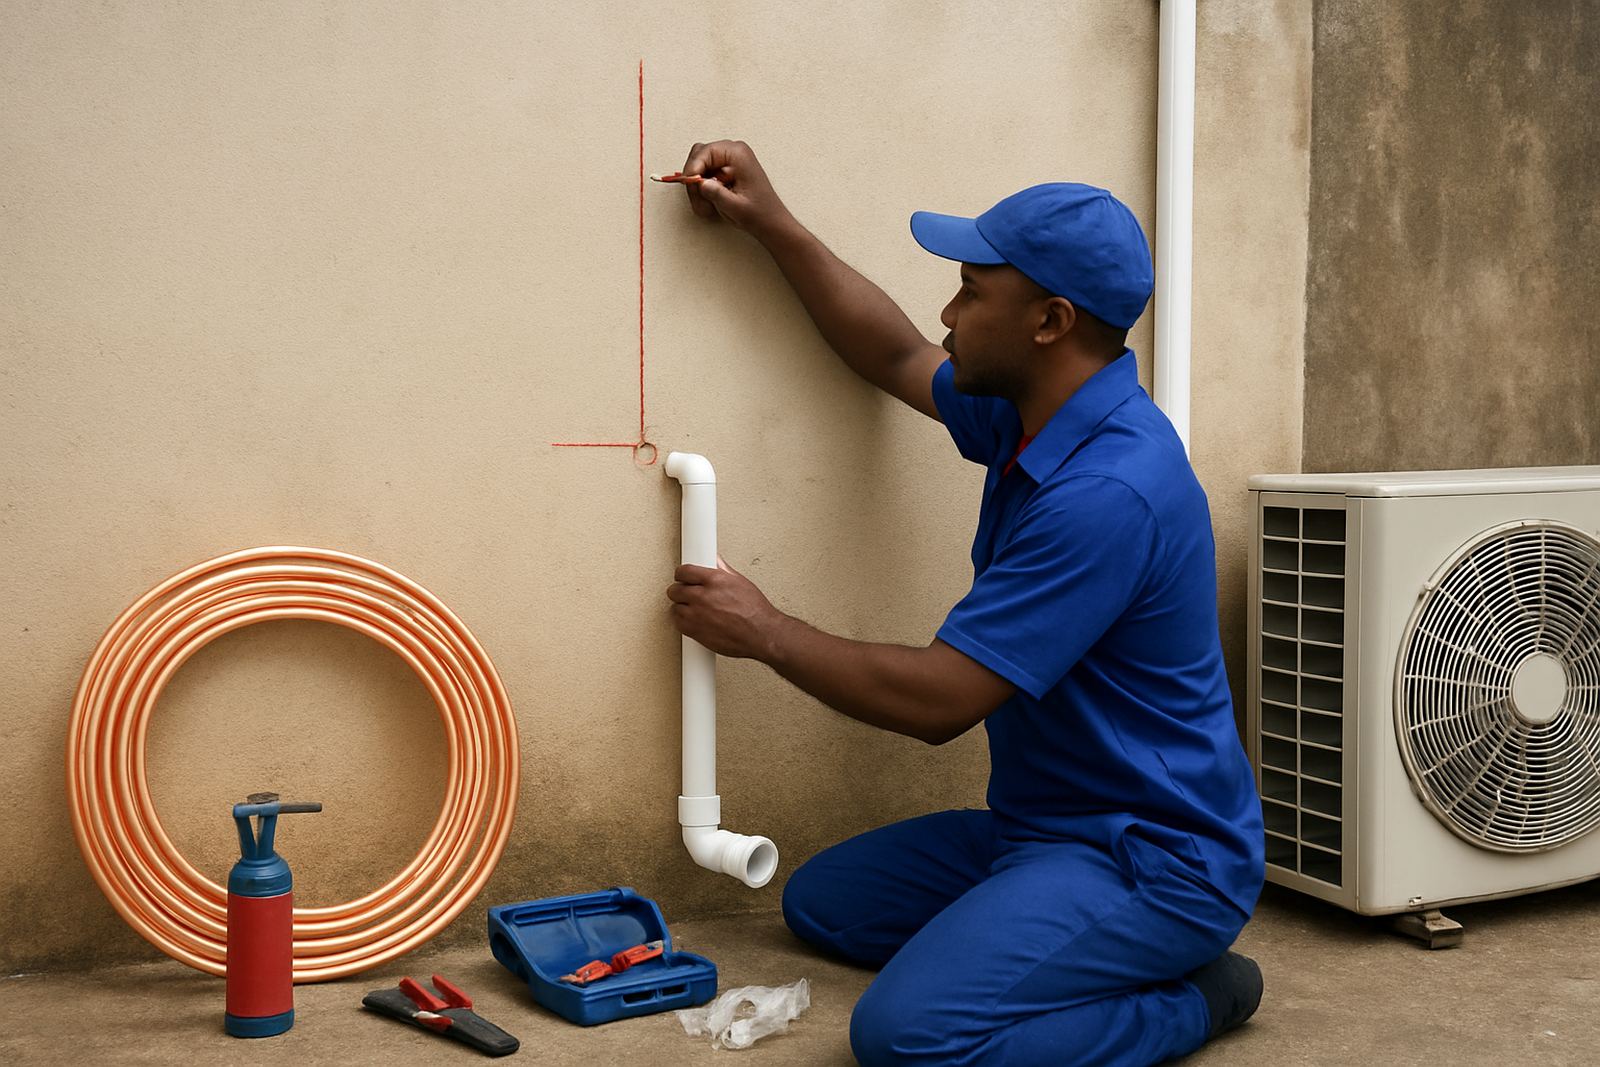
Start with the indoor unit and work back to the outdoor side
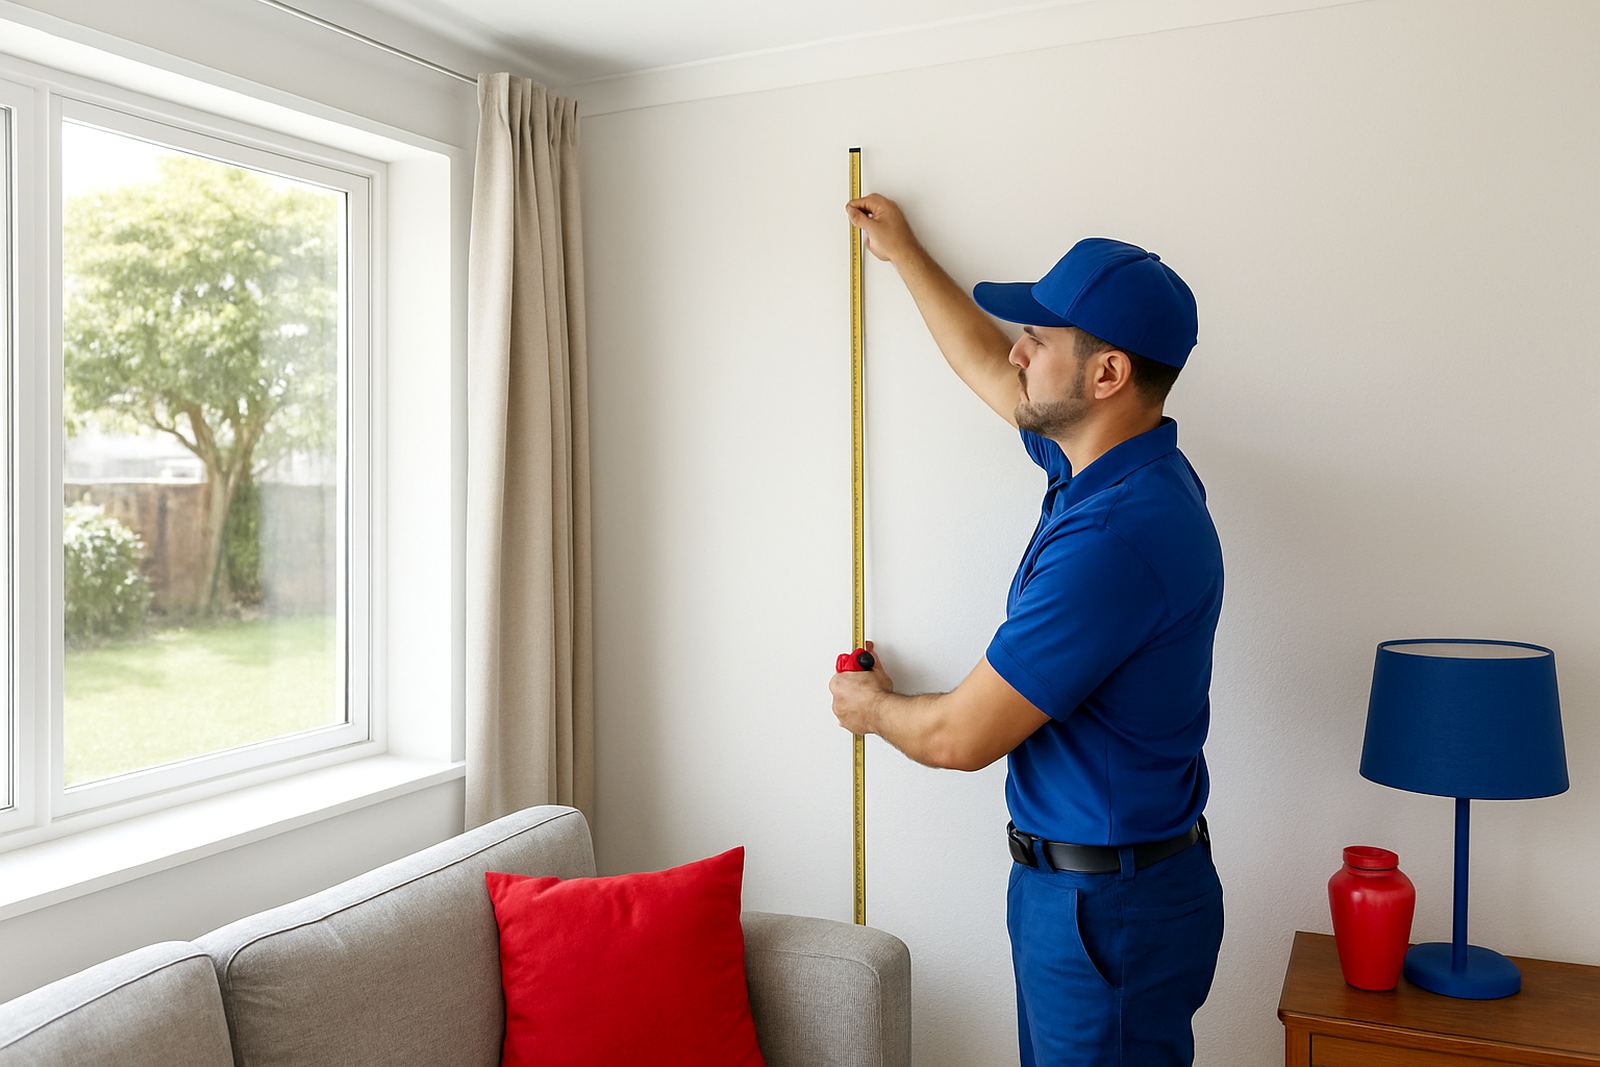
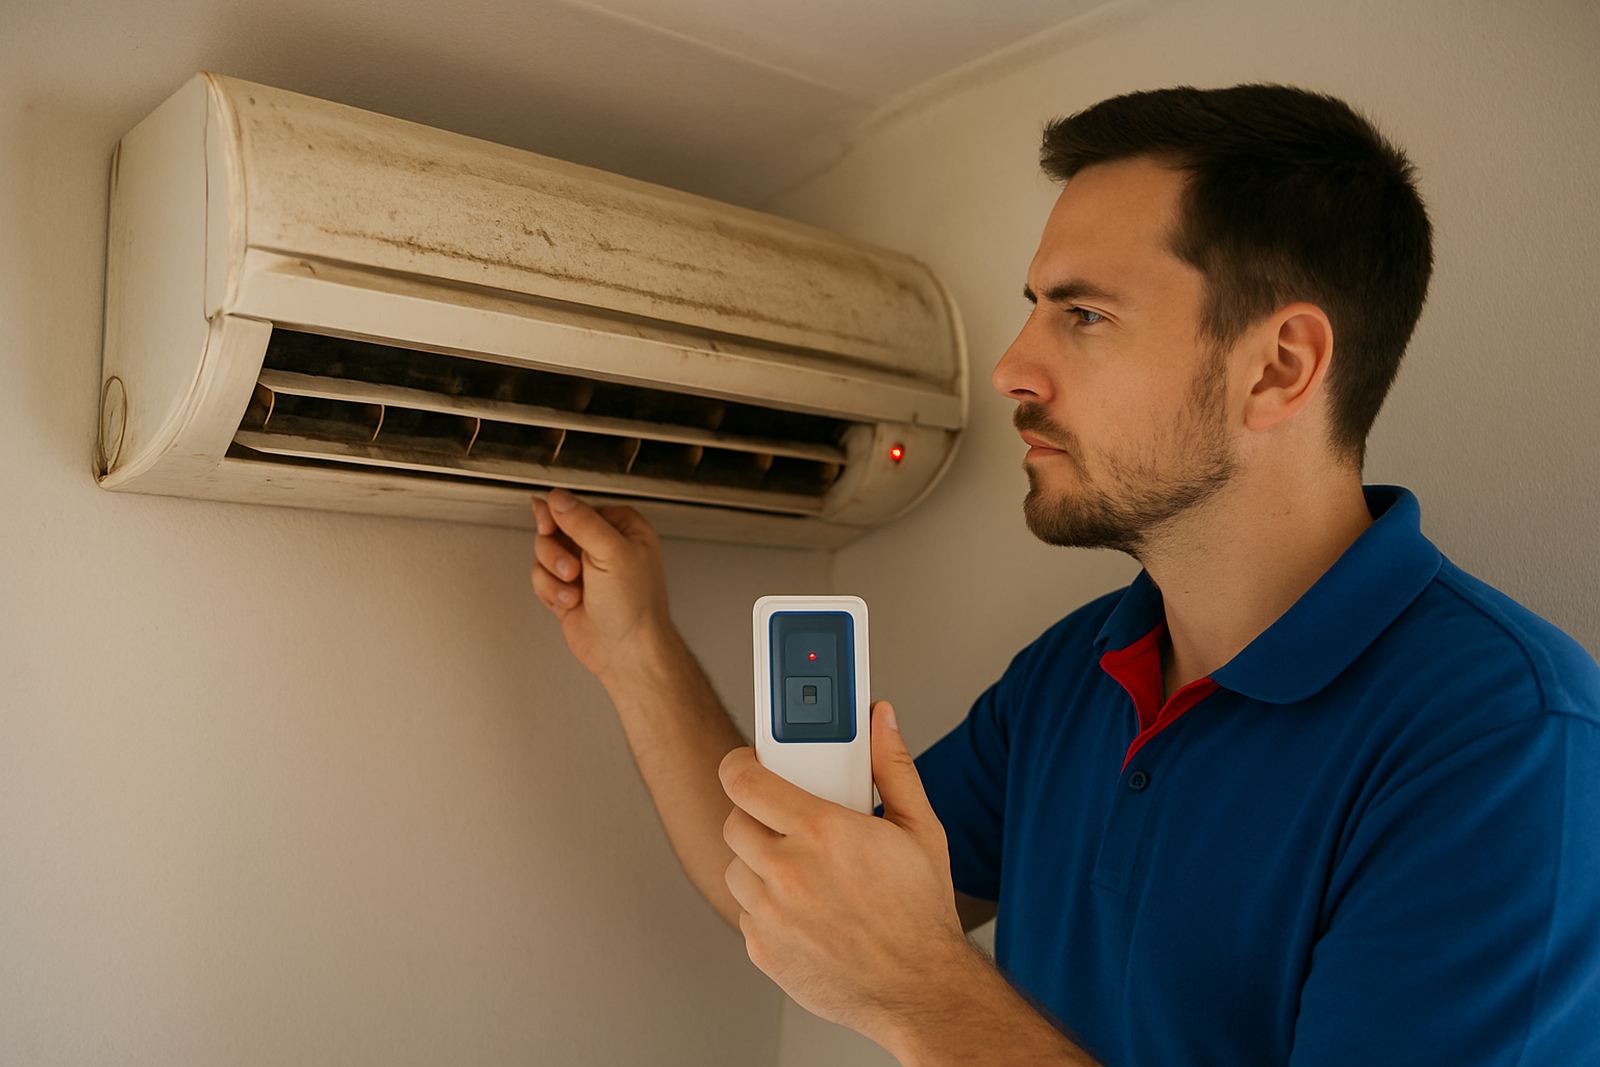
The best route starts with the room layout, not the nearest wall. Check where the indoor unit will sit, where people move around the room, and which side gives the clearest path to the outside. A short route is usually neater, but it must still allow for service access and a proper fall on the drain line.
In Durban homes and shops, we often need to work around brick walls, plaster finishes, balconies, shopfront glazing, or existing ceilings. The route should avoid sharp bends and long exposed runs where the copper can get damaged or the trunking becomes untidy. If the unit is going on an upper floor, plan how the pipes will drop to ground level or to the outdoor bracket without crossing walkways or blocking windows.
- Confirm the indoor unit position first
- Check the nearest practical exit point to outside
- Keep enough space for filter cleaning and repairs
- Avoid routing where future shelves, signs or curtains will interfere
Check wall thickness, distance and pipe limits before you commit
Copper line size and total pipe length have to suit the system. Too much distance, too many bends, or a poor rise and fall along the route can cause poor cooling and harder compressor work. A route that looks simple on paper can become a problem once you account for wall thickness, ceiling height and the outdoor position.
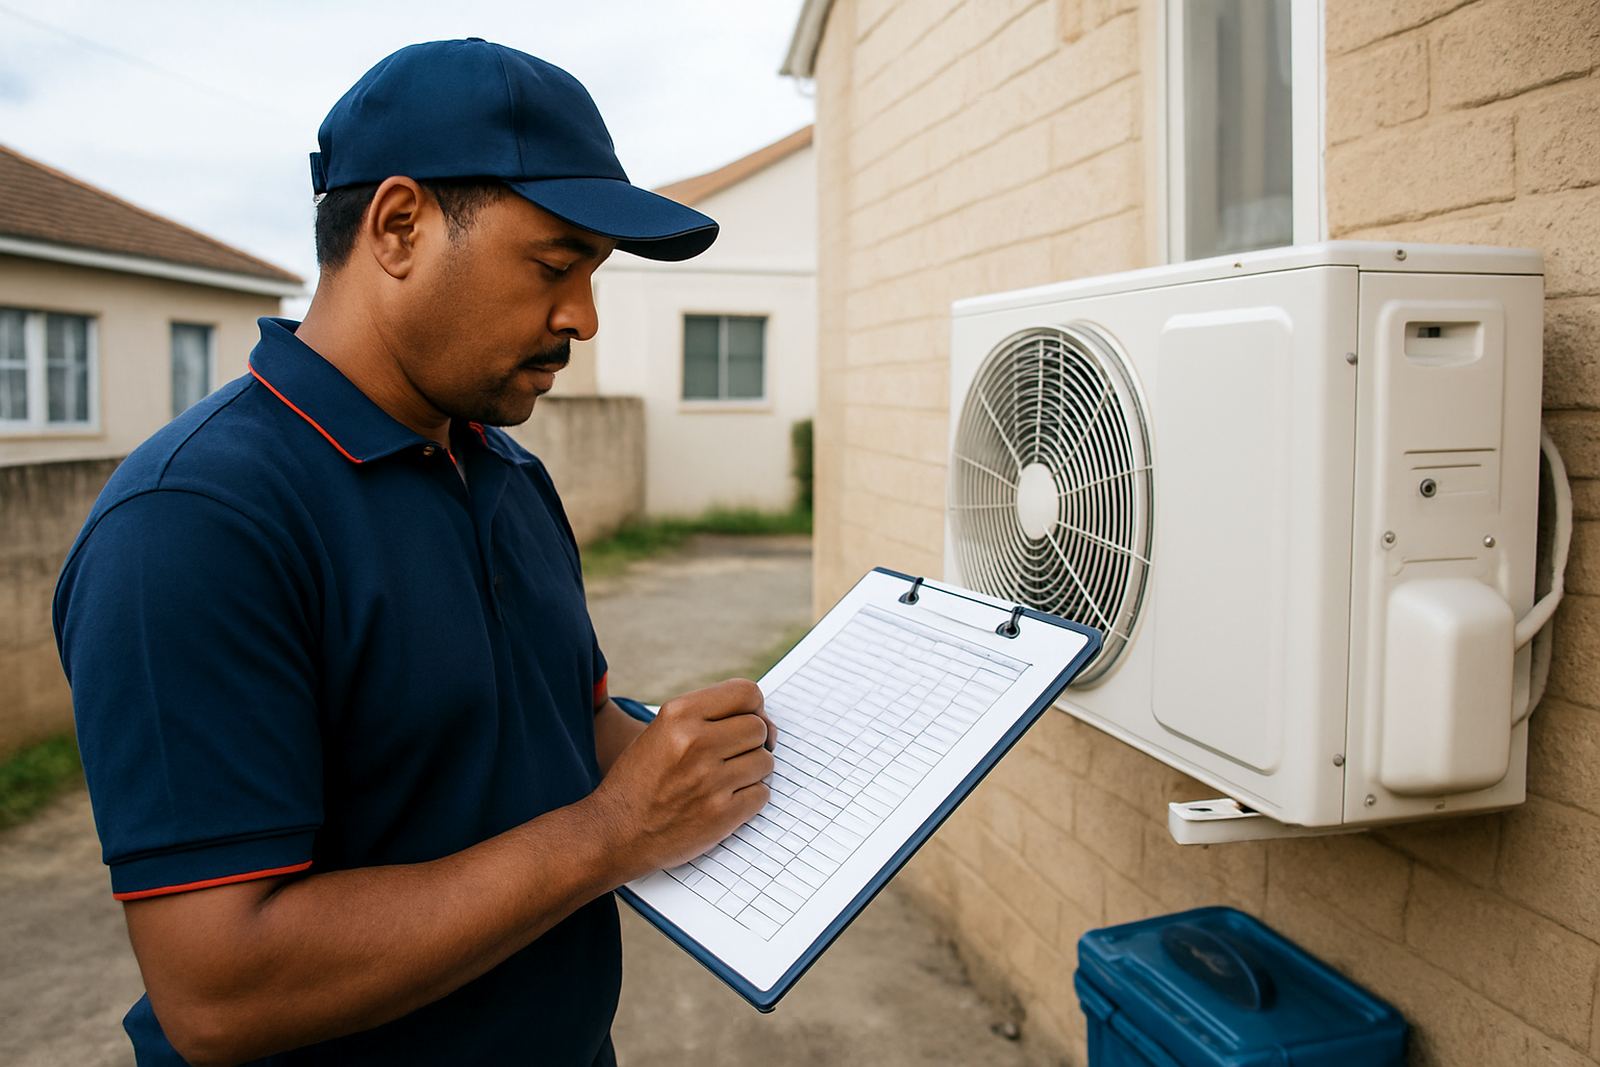
For domestic installations in Clairwood, Durban Central and wider eThekwini, it helps to measure the route properly before drilling any holes. On commercial jobs the route may need to pass through plant rooms, service passages or roof spaces, and those areas must be checked for heat, moisture and maintenance access. If the route is too long, ask whether the outdoor unit should move to another wall or a more suitable ledge.
- Measure the straight run and add allowance for bends
- Check manufacturer pipe length and height difference requirements
- Confirm that the route can be serviced later
- Allow space for insulation and trunking
Plan drain fall so water leaves the unit properly
The condensate drain is one of the most important parts of the route and it is often the first thing people overlook. If the drain line has the wrong slope, the unit can drip inside, overflow during heavy use, or create damp patches on plaster and ceilings. That becomes a bigger issue in humid coastal conditions where moisture hangs around longer.
Always plan the drain to run steadily downhill to a suitable discharge point. Avoid flat sections, trapped dips and unnecessary joins. If the unit is above a ceiling, make sure the route does not force the pipe to sit against timber, wiring or other services. In some buildings a small pump may be needed, but a gravity drain is usually the cleaner option where the layout allows it.
- Keep a steady fall on the drain line
- Do not trap the pipe behind permanent finishes
- Check where the water will discharge
- Make sure the end point will not cause staining or nuisance dripping
Choose trunking positions that protect the pipes and the finish
Trunking should protect the copper lines, wiring and insulation without drawing unnecessary attention. The route should follow straight lines where possible, usually along skirting levels, external walls or neat ceiling drops. When trunking is placed badly, it stands out and becomes harder to clean or repair later.
We also look at exposure to sun, rain and salt air. In coastal Durban areas, external trunking and fittings need to be fixed properly so they do not work loose over time. Keep clear of areas where gates swing, vehicles reverse, or security shutters move. On business premises, trunking may need to be positioned high enough to avoid trolleys, cleaners and daily foot traffic.
- Run trunking in straight, sensible lines
- Avoid high traffic or impact zones
- Keep external sections away from water spray where possible
- Allow access for future gas checks or pipe repairs
Leave room for servicing, fault finding and future repairs
A pipe route should not only suit the installation day. It must also allow a technician to reach isolators, valves, joins and access points when the system needs a gas check, leak repair, compressor work or a deep clean. If pipes are boxed in too tightly, even a small fault can become a long job.
We often tell customers to think one step ahead. If the outdoor unit, isolation switch or drain point will be hard to reach later, the layout should be changed now. This matters on rental properties, offices and shops where the landlord or maintenance team may need quick access during load-shedding related start-up issues or after a breakdown call-out.
- Leave access to service valves and electrical points
- Do not bury critical joins where they cannot be inspected
- Make sure the outdoor unit can be reached safely
- Keep enough clearance for cleaning coils and fans
Final route checklist before drilling and fixing
Before any holes are drilled or trunking is fixed, do a final walk-through with the installer and confirm the route against the room layout. This is the time to catch problems like bad drainage, awkward bends, poor access or a pipe run that will clash with furniture and fittings. A few extra minutes here can save a lot of patching later.
For homes and businesses in greater eThekwini, weather, humidity and building type all influence the best route. A practical layout usually looks simple once finished because the decisions were made carefully at the start. If you are unsure, get the route checked before proceeding, not after the wall has already been opened.
- Confirm indoor and outdoor unit positions
- Check pipe length, bends and fall
- Confirm drain discharge point
- Check trunking line and fixing points
- Make sure the route allows future servicing